Master the Markets: A Deep Dive into the Support and Resistance Button Indicator V1.0 for MT4
In the fast-paced world of Forex trading, having a clear and reliable method to identify key market levels is not just an advantage; it’s a necessity. Among the foundational concepts of technical analysis are support and resistance. These are the price levels where the market’s momentum has historically paused, reversed, or consolidated. For traders, these zones are goldmines of opportunity. But manually drawing and constantly updating these lines can be tedious and subjective. This is where the Support and Resistance button Indicator V1.0 for MT4 comes in, offering a streamlined, automated solution to one of trading’s oldest challenges.
This comprehensive guide will explore every facet of this powerful MetaTrader 4 indicator. We’ll cover its core functionality, the optimal time frames and currency pairs to use, how to build a robust trading strategy around it, and the importance of proper risk management, including the recommended minimum deposit.
What Exactly is the Support and Resistance Button Indicator V1.0?
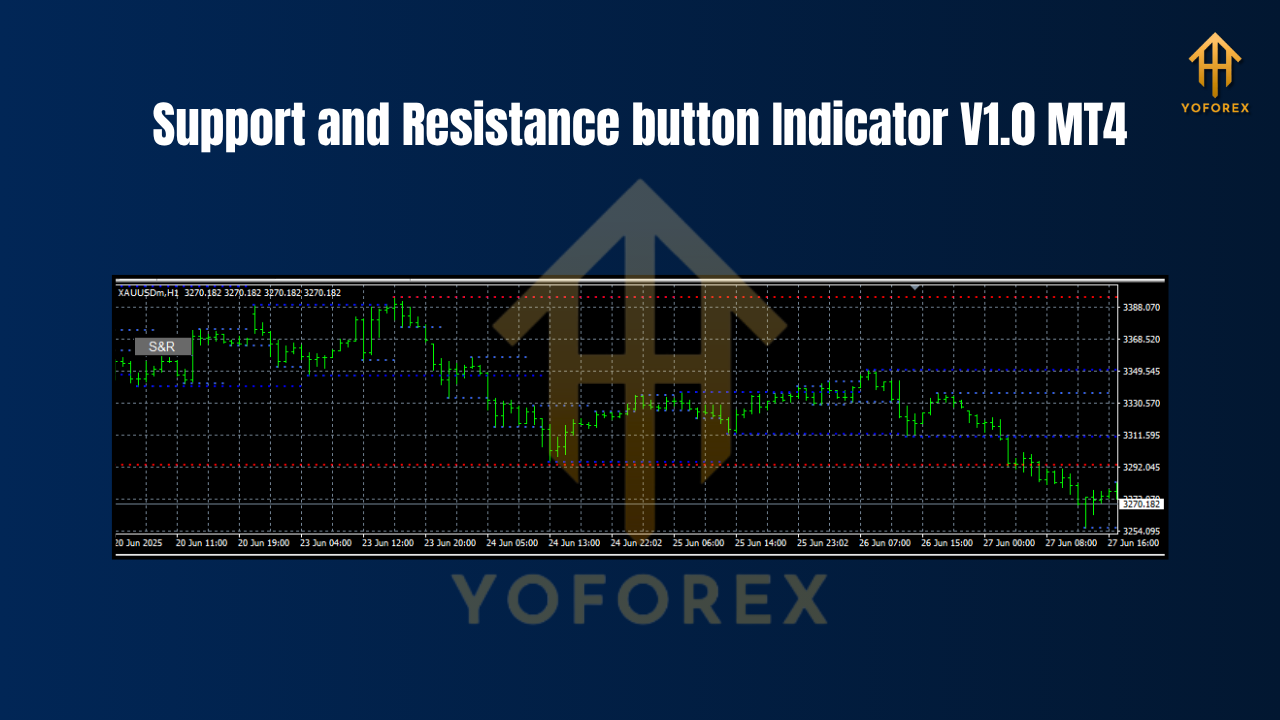
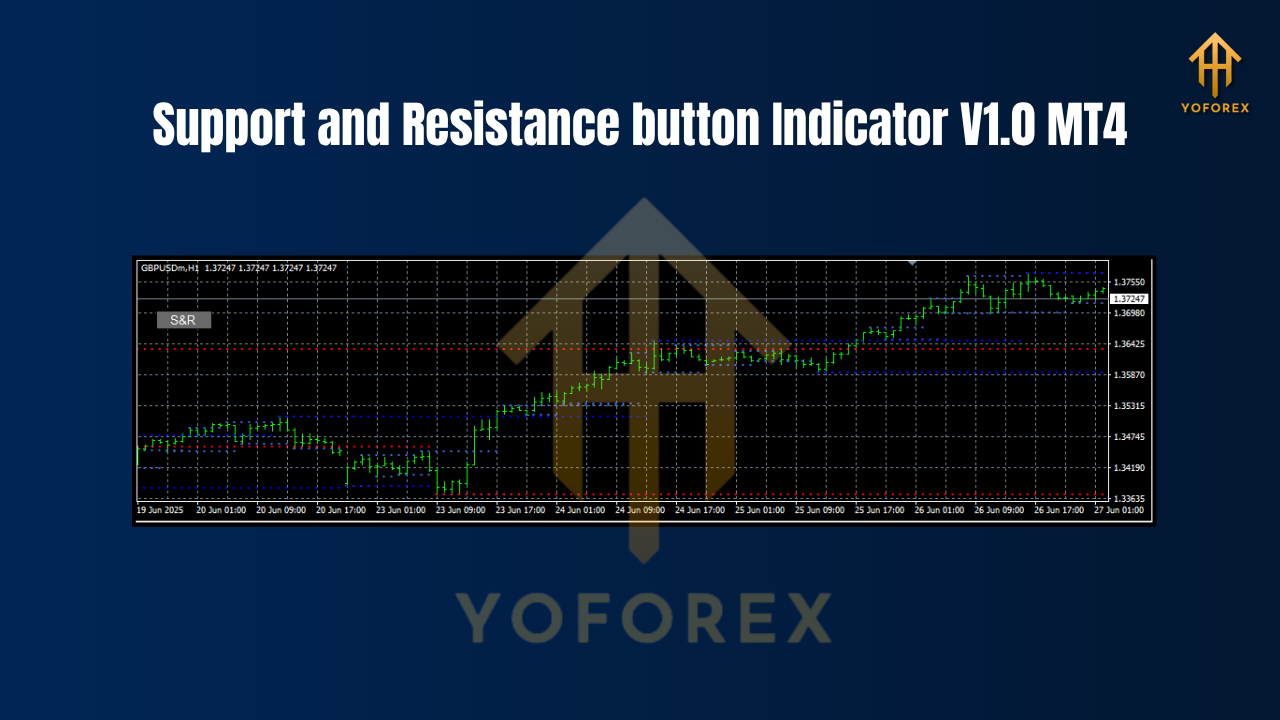
The Support and Resistance button Indicator V1.0 is a custom technical tool designed for the MetaTrader 4 (MT4) platform. Its primary function is to automatically identify and draw significant support and resistance levels directly onto your trading chart.
What sets it apart is its “button” feature. Unlike static indicators that clutter your chart with lines from all time frames, this tool often includes an on-chart panel or buttons. This allows the trader to toggle the visibility of different support and resistance levels, perhaps showing or hiding historical levels, weak vs. strong levels, or levels from different time frames. This interactivity ensures your chart remains clean and you can focus on the levels that are most relevant to your current analysis. It essentially simplifies chart analysis by visually highlighting price ceilings (resistance) and floors (support) where buying or selling pressure is expected to intensify.

The Bedrock of Trading: Support and Resistance Explained
Before we delve deeper into the indicator itself, let’s solidify our understanding of its core principles.
- Support: This is a price level where a downtrend can be expected to pause due to a concentration of demand or buying interest. As the price of a currency pair drops, it becomes cheaper and more attractive to buyers. When it reaches a level that buyers find particularly appealing (often a previous low), the buying pressure can overpower the selling pressure, causing the price to bounce back up. This level acts as a “floor.”
- Resistance: This is the opposite of support. It’s a price level where an uptrend is likely to pause or reverse due to a concentration of supply or selling interest. As the price rises, sellers become more motivated to take profits. When it reaches a level where selling pressure overwhelms buying pressure (often a previous high), the price is pushed back down. This level acts as a “ceiling.”
These levels are critical because they provide logical and strategic locations to place entries, stop-losses, and take-profit orders. A break of a key support level can signal a continued downtrend, while a break of resistance can indicate a new leg up.
Optimal Time Frames for Maximum Effectiveness
The reliability of support and resistance levels is directly correlated with the time frame on which they are identified. The Support and Resistance button Indicator V1.0 is versatile, but its signals are not created equal across all time frames.
- Higher Time Frames (H4, D1, W1): This is where the indicator truly shines. ✨ Support and resistance levels on the 4-Hour, Daily, and Weekly charts are formed over a longer period and represent more significant market sentiment. A level that has held on the Daily chart multiple times is far more powerful than a level formed on a 5-minute chart. Traders should use these higher time frames to identify the major market structure and key zones to watch.
- Intermediate Time Frames (H1): The 1-Hour chart offers a good balance. It provides more frequent trading opportunities than the daily chart but with more reliable levels than lower time frames. It’s excellent for day traders looking to frame their trading sessions around significant intraday S/R levels identified by the indicator.
- Lower Time Frames (M5, M15, M30): While the indicator will plot levels on these charts, they should be approached with caution. These levels are weaker and more prone to being broken. They are best used by experienced scalpers who are looking for quick entries and exits. A common strategy is to identify a major S/R zone on the H4 or D1 chart and then zoom into the M15 chart to look for a precise entry signal as price interacts with that major zone.
In summary, the best practice is to start your analysis on a higher time frame (D1/H4) to establish the key levels and then scale down to a lower time frame (H1/M15) for trade execution.
Best Currency Pairs for the Indicator
The performance of any trading tool can be influenced by the instrument being traded. The Support and Resistance button Indicator V1.0 is generally most effective on pairs with high liquidity and predictable price action.
- Major Pairs: These are the top choice. Pairs like EUR/USD, GBP/USD, USD/JPY, AUD/USD, and USD/CAD have immense trading volume. This means their movements are generally smoother, and they tend to respect major technical levels more consistently. The vast number of market participants watching these levels reinforces their strength.
- Major Cross-Pairs: Currency crosses like EUR/JPY, GBP/JPY, and EUR/GBP are also excellent candidates. They are highly liquid and exhibit strong trending behavior, providing clear support and resistance structures for the indicator to identify.
- Exotics and Indices: While the indicator can be applied to any instrument on MT4, including exotic pairs, commodities (like Gold, XAU/USD), and indices, traders should be aware of their unique characteristics. Exotics can have lower liquidity and higher spreads, while commodities can be more volatile. Always backtest the indicator’s effectiveness on a specific instrument before trading with real money.

Building a Winning Strategy with the Indicator
The indicator itself is not a trading system; it’s a powerful analysis tool. To turn its signals into profitable trades, you need a complete strategy with clear rules for entry, exit, and risk management. Here’s a popular and effective approach:
Step 1: Top-Down Analysis Start on the Daily (D1) or 4-Hour (H4) chart. Use the indicator to identify the most significant, long-term support and resistance levels. These are your primary zones of interest.
Step 2: Wait for a Price Test Patience is key. Don’t trade in the middle of a range. Wait for the price to approach one of your pre-identified major S/R zones.
Step 3: Look for Confirmation This is the most critical step. Never enter a trade just because the price has touched a line. You need confluence—additional evidence that the level will hold. Look for classic candlestick confirmation patterns:
- At Support: Bullish Pin Bar, Bullish Engulfing Pattern, Hammer, or Morning Star formation.
- At Resistance: Bearish Pin Bar, Bearish Engulfing Pattern, Shooting Star, or Evening Star formation.
Step 4: Trade Execution
- Entry: Once you get a confirmation signal, enter the trade. For a bounce off support, you’d place a buy order. For a rejection at resistance, you’d place a sell order.
- Stop-Loss: Your safety net. Place your stop-loss just below the support level (for a buy trade) or just above the resistance level (for a sell trade). Give it some breathing room to account for volatility.
- Take-Profit: The logical target is the next opposing S/R level. If you buy at support, your take-profit could be the next resistance level identified by the indicator.
Risk Management: The $200 Minimum Deposit Rule
The prompt mentioned a minimum deposit of $200 per pair. This isn’t a requirement of the indicator itself, but rather a prudent guideline for risk management. Trading with insufficient capital is one of the fastest ways to lose money.
Why $200? Let’s break it down. A standard rule in trading is to risk no more than 1-2% of your account on a single trade.
Let’s assume a 2% risk rule on a $200 account:
- Risk per trade:
If you are trading a micro lot (0.01 lots), where each pip movement is roughly $0.10, you can withstand a 40-pip move against you before your stop-loss is hit ($4 / $0.10/pip = 40 pips). This 40-pip buffer is a reasonable stop-loss distance for many intraday strategies on major pairs.
Trading with less than $200 makes proper risk management extremely difficult. If you have only $50, a 2% risk is just $1. This only allows for a 10-pip stop-loss, which is far too tight for most strategies and will likely result in being stopped out by normal market noise. A $200 deposit per pair ensures you have enough capital to set logical stop-losses and survive the natural ebb and flow of the market without facing a margin call.
Conclusion: Simplify Your Trading with a Powerful Tool
The Support and Resistance button Indicator V1.0 for MT4 is a fantastic addition to any technical trader’s toolkit. It automates a fundamental aspect of chart analysis, saving you time and removing subjectivity. By focusing on high-liquidity pairs like EUR/USD and GBP/USD, using a top-down approach starting from higher time frames (H4/D1), and always waiting for candlestick confirmation, you can build a highly effective trading strategy.


