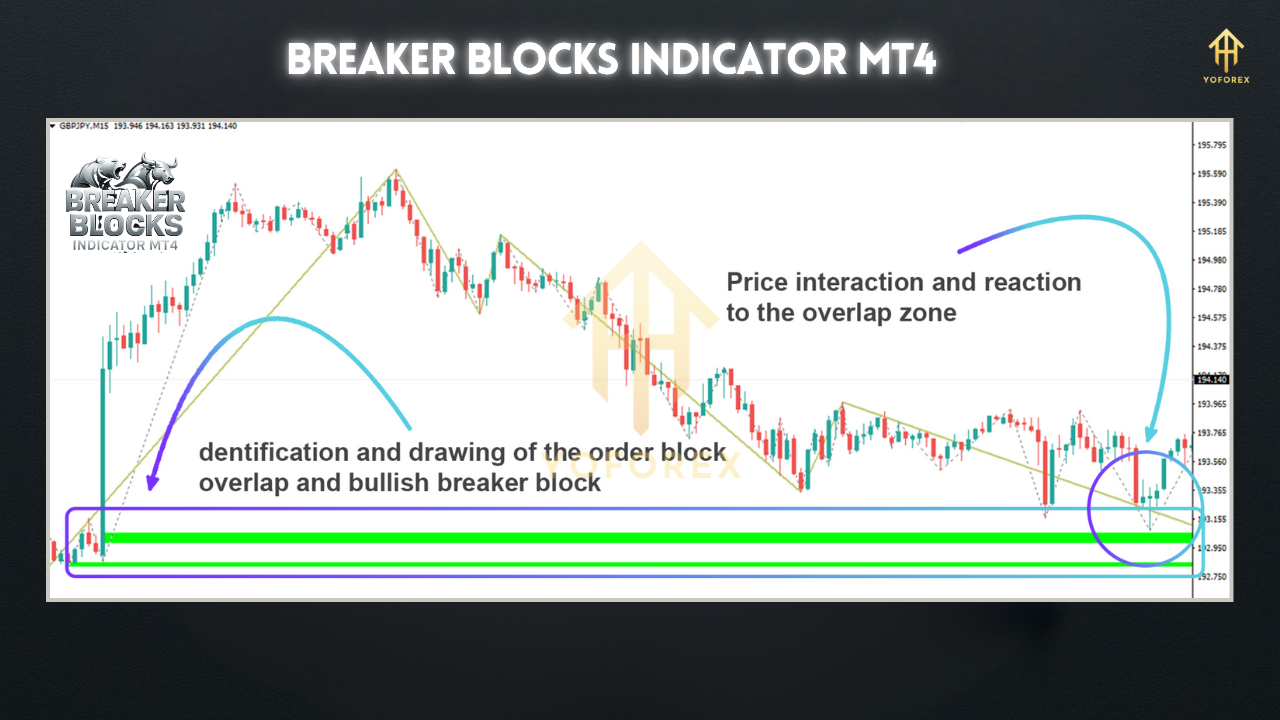
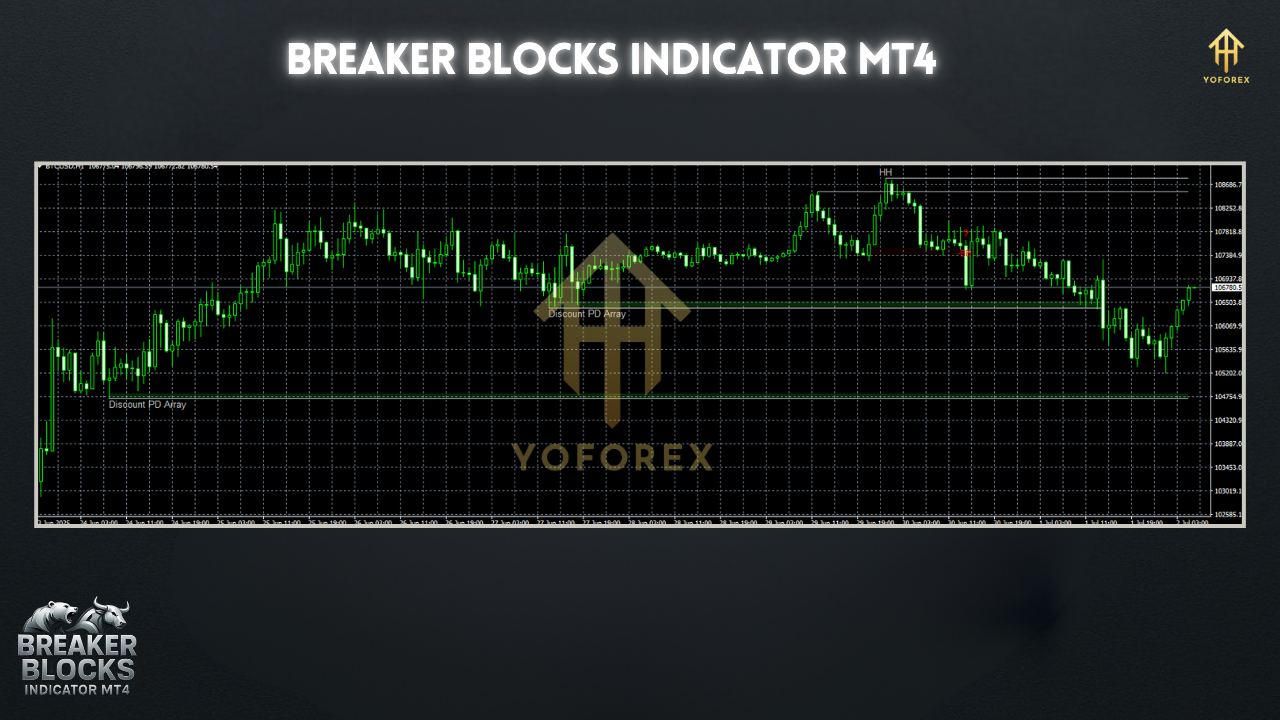
In the fast-paced world of forex trading, having the right tools can make all the difference. One such tool that has gained significant traction among traders is the Breaker Blocks Indicator for MT4. This technical analysis tool, rooted in the Smart Money Concept (SMC) and Inner Circle Trader (ICT) methodologies, helps traders identify key market zones where significant price movements are likely to occur. In this blog, we’ll explore what the Breaker Blocks Indicator is, how it works, its key features, and how you can integrate it into your trading strategy to enhance decision-making.
What Are Breaker Blocks?
Breaker Blocks are a critical component of the order block trading strategy, which focuses on identifying areas in the market where institutional orders accumulate. These zones often act as pivotal points for price action, serving as support or resistance levels. A Breaker Block forms when the price breaks through an existing order block and then retraces to retest that zone, transforming it into a new support or resistance area. This retracement signals a potential continuation of the trend, making Breaker Blocks a powerful tool for traders looking to capitalize on breakouts or reversals.
The Breaker Blocks Indicator for MetaTrader 4 (MT4) automates the process of identifying these zones, saving traders time and providing clear visual cues on the chart. By highlighting these critical areas, the indicator helps traders pinpoint high-probability entry and exit points, making it an invaluable addition to any trading arsenal.
How Does the Breaker Blocks Indicator Work?
- Order Block Identification: The indicator first identifies order blocks, which are areas where significant buying or selling activity has occurred, typically marked by consolidation before a sharp price movement. These are often the last bearish candle before a bullish move or the last bullish candle before a bearish move.
- Breakout Detection: When the price breaks through an order block, the indicator monitors the subsequent price action. If the price fully engulfs the order block and then retraces to retest it, the zone is marked as a Breaker Block.
- Visual Representation: Breaker Blocks are displayed as colored rectangular zones on the chart, with bullish breaker blocks typically shown in green and bearish breaker blocks in red or brown. This color-coding makes it easy for traders to distinguish between potential support and resistance zones.
- Customizable Alerts: The indicator often includes alert functionalities, such as pop-up messages, sound notifications, or push notifications to mobile devices, to inform traders when the price enters a Breaker Block zone or when a breakout occurs.

Key Features of the Breaker Blocks Indicator
- Automated Zone Detection: The indicator automatically identifies order blocks and breaker blocks, eliminating the need for manual chart analysis.
- Color-Coded Visualization: Bullish and bearish zones are clearly marked with distinct colors, enhancing readability and quick decision-making.
- Customizable Settings: Traders can adjust parameters like the number of candles to look back, the visibility of overlapping zones, or the mode of detection (e.g., Normal, Aggressive, or Defensive).
- Alert Notifications: The indicator provides real-time alerts for price interactions with breaker blocks, ensuring traders don’t miss critical trading opportunities.
- Multi-Timeframe Compatibility: It works across all timeframes, from minute charts for scalping to daily or weekly charts for swing trading, making it suitable for various trading styles.
- Integration with ICT Strategies: Designed with ICT concepts in mind, the indicator complements other Smart Money tools, enhancing overall market analysis.
Trading Strategies Using the Breaker Blocks Indicator
1. Breakout Trading Strategy
- Step 1: Identify a breaker block on the chart, marked by the indicator as a green (bullish) or red/brown (bearish) zone.
- Step 2: Wait for the price to break through the order block and then retrace to the breaker block zone.
- Step 3: Look for confirmation signals, such as a strong bullish or bearish candle, a pin bar, or a volume spike, to validate the breakout.
- Step 4: Enter a trade in the direction of the breakout, placing a stop-loss just below (for buy trades) or above (for sell trades) the breaker block.
- Step 5: Set a take-profit target based on a favorable risk-to-reward ratio, typically 1:2 or 1:3.
2. Reversal Trading Strategy
- Step 1: Identify a breaker block that aligns with a key support or resistance level on a higher timeframe (e.g., H1 or D1).
- Step 2: Monitor price action as it approaches the breaker block, looking for reversal patterns like engulfing candles or rejection wicks.
- Step 3: Confirm the reversal with additional indicators, such as RSI for overbought/oversold conditions or MACD for momentum shifts.
- Step 4: Enter a trade in the opposite direction of the prior trend, with a stop-loss placed beyond the breaker block.
- Step 5: Target a take-profit at the next significant support or resistance level.

Tips for Using the Breaker Blocks Indicator Effectively
- Combine with Other Tools: While the indicator is powerful, it’s not a standalone solution. Use it alongside other ICT tools, such as liquidity grab indicators or volume profiles, for better confirmation.
- Practice Risk Management: Always set stop-losses to protect against unexpected market moves. Aim for a risk-to-reward ratio that supports long-term profitability.
- Backtest Thoroughly: Before using the indicator in live trading, backtest it on historical data to understand its performance across different market conditions.
- Adjust Timeframes: Use higher timeframes for more reliable signals, especially for swing trading, and lower timeframes for scalping or day trading.
- Avoid Overtrading: Wait for high-probability setups where the breaker block aligns with other technical factors, such as key Fibonacci levels or trendlines.
Limitations and Considerations
While the Breaker Blocks Indicator is highly effective, it’s not without limitations. Some users have reported that sell-side breaker blocks may appear with a delay compared to buy-side blocks, which could affect real-time trading decisions. Additionally, the indicator may repaint in certain market conditions, so traders should verify signals with other tools. Customization issues, such as block size or opacity, have also been noted, so ensure you adjust settings to suit your preferences.
Conclusion
The Breaker Blocks Indicator MT4 is a powerful tool for traders seeking to capitalize on institutional order flow and market structure. By automating the identification of breaker blocks, it simplifies the process of finding high-probability trading zones, making it suitable for both novice and experienced traders. When used in conjunction with other technical analysis tools and sound risk management, the indicator can significantly enhance your trading strategy. Whether you’re a scalper, day trader, or swing trader, the Breaker Blocks Indicator offers a clear, actionable way to navigate the complexities of the forex market.
For those interested in exploring this tool, many versions are available for free download from reputable sources like Forex Factory or IndicatorsPot. Always ensure you download from trusted platforms and test the indicator thoroughly before integrating it into your live trading setup. With the right approach, the Breaker Blocks Indicator can be a game-changer in your trading journey.


