Navigating the DBR-RBD Indicator for MT4: A Deep Dive into Supply and Demand Trading
The MetaTrader 4 (MT4) platform offers a wide range of indicators to help traders make informed decisions in financial markets. Among the most insightful for those following Smart Money Concepts (SMC) is the DBR-RBD Indicator. This advanced tool automatically identifies and marks Drop-Base-Rally (DBR) and Rally-Base-Drop (RBD) patterns — two crucial structures rooted in supply and demand theory.
This blog provides a comprehensive guide to understanding, setting up, and trading with the DBR-RBD Indicator for MT4. You’ll learn how the indicator works, why it’s valuable, and how to use it effectively to identify key reversal zones.
Understanding DBR and RBD Patterns
Before diving into the indicator itself, it’s essential to grasp the underlying logic of the DBR and RBD formations. These patterns are core components of the supply and demand trading methodology, closely aligned with institutional trading activity.
Drop-Base-Rally (DBR)
A DBR pattern indicates a potential demand zone, where buyers might enter and push prices higher.
-
Drop: The price experiences a sharp decline, signaling aggressive selling pressure.
-
Base: Price action stabilizes into a narrow range, creating a consolidation area.
-
Rally: Buyers regain control and drive the price upward, forming a bullish move.
Traders look to these zones for long entries when price returns to the base, anticipating a bounce from demand.
Rally-Base-Drop (RBD)
An RBD pattern signifies a supply zone, where sellers may step in to drive prices lower.
-
Rally: The price ascends rapidly, showing strong buying momentum.
-
Base: The market consolidates in a tight range, often indicating distribution by institutional players.
-
Drop: Sellers take control, leading to a bearish move.
RBD zones are ideal for short entries when the price revisits the area and fails to break higher.
Why These Patterns Matter
DBR and RBD patterns are considered more reliable for reversals than other formations like Rally-Base-Rally (RBR) or Drop-Base-Drop (DBD), which often suggest trend continuation. Here’s why:
-
Institutional Footprints: These zones often represent where smart money places large buy or sell orders.
-
High Reward-Risk Ratios: They tend to offer optimal entry points with well-defined stop-loss zones.
-
Predictive Value: These patterns signal potential turning points in the market.
Overview
The DBR-RBD Indicator is a powerful technical analysis tool that automates the detection of DBR and RBD zones on MT4 charts. It enhances precision by reducing the subjectivity that comes with manual zone identification.
Key Features
-
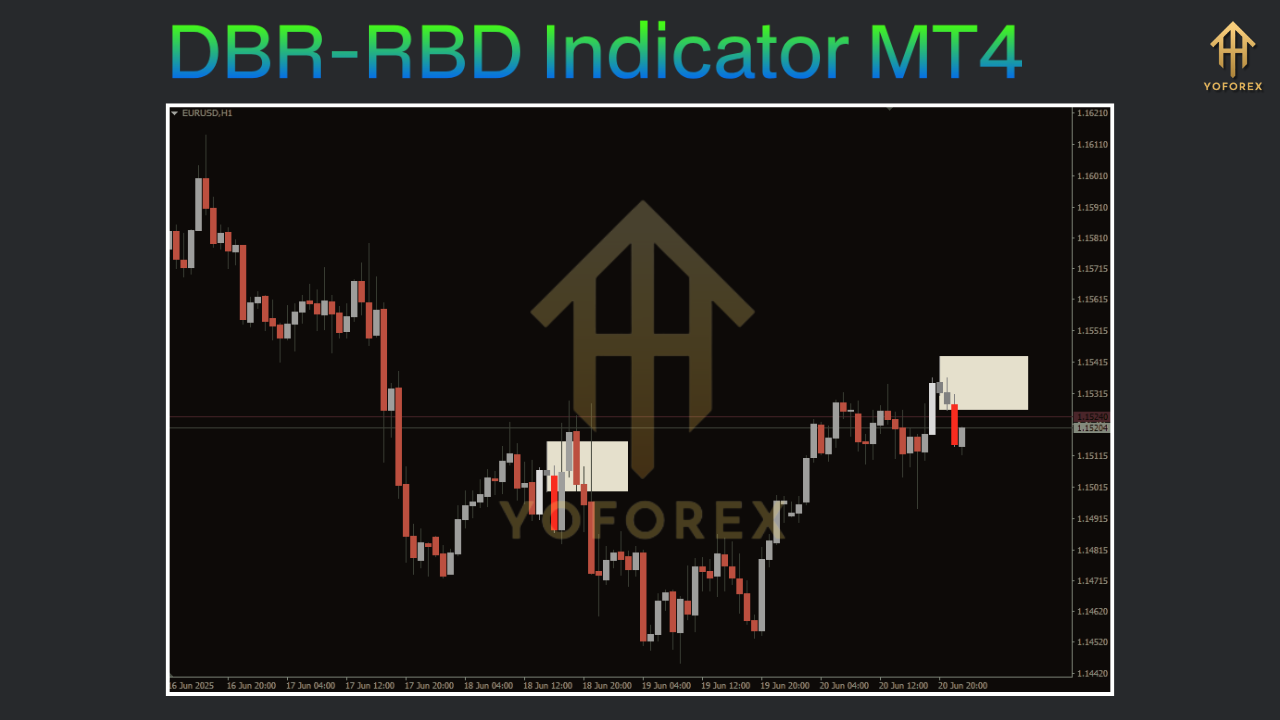
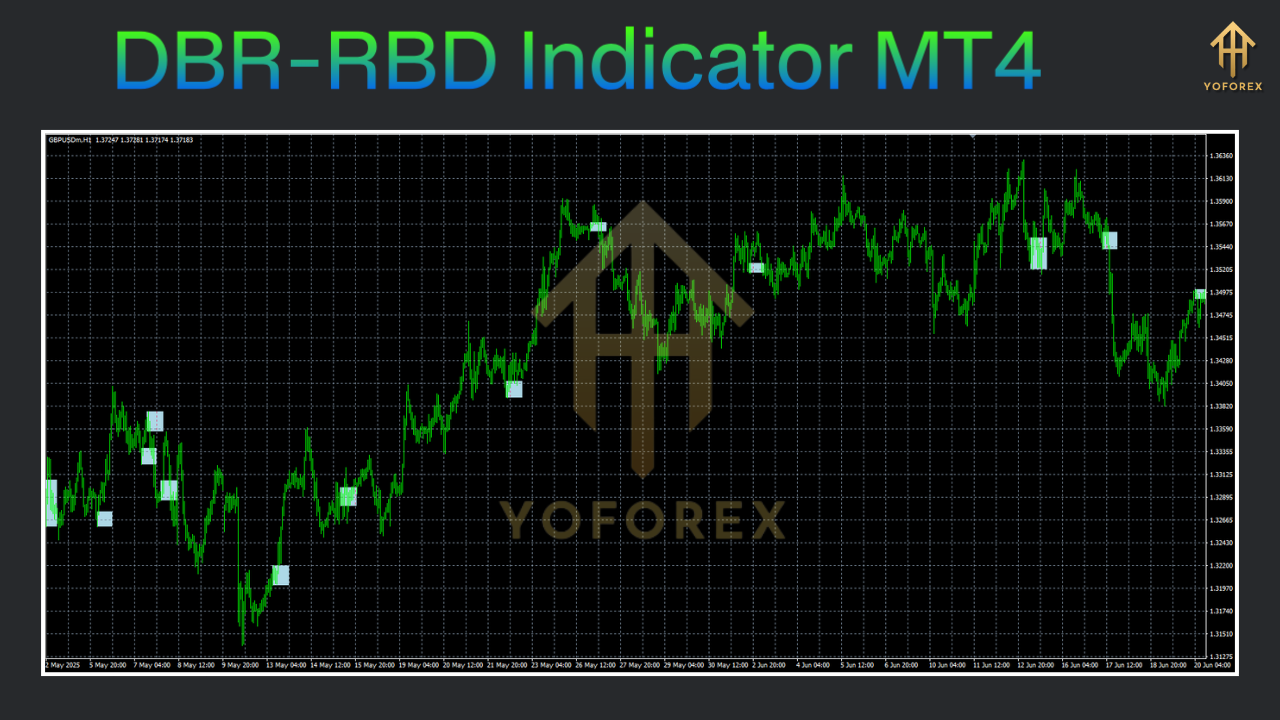
Automatic Detection: The indicator scans historical and real-time data to plot DBR (green) and RBD (red) zones.
-
Customizable Settings: Users can modify base candle length, body size, and other detection parameters.
-
Alerts and Notifications: Receive real-time alerts when price enters a marked zone.
-
Multi-Timeframe Support: Works across all timeframes from M5 to D1.
-
Risk Management Tools: Some versions include built-in SL/TP and position sizing based on custom risk ratios.
How the Indicator Works
The DBR-RBD Indicator identifies patterns using strict logic:
-
Drop/Rally Measurement: Checks if price moved a significant distance before forming a base.
-
Base Analysis: Validates if 1 to 4 candles formed a tight range with small bodies and wicks.
-
Zone Plotting:
-
DBR Zone: Entry line is drawn above the base; SL below.
-
RBD Zone: Entry line is below the base; SL above.
-
-
Visual Zones: Zones are plotted as semi-transparent rectangles, often green for DBR and red for RBD.
This visual representation helps traders quickly identify where institutional activity likely occurred.

How to Install the DBR-RBD Indicator in MT4
Follow these steps to install and configure the DBR-RBD Indicator:
Step 1: Download the Indicator
-
Obtain the indicator file (usually .ex4 or .mq4 format) from a reliable source such as MQL5 or a trusted forex forum.
Step 2: Installation
-
Open MT4.
-
Click on
File > Open Data Folder. -
Navigate to
MQL4 > Indicatorsand paste the indicator file into this folder. -
Restart MT4 to load the new indicator.
Step 3: Add to a Chart
-
Open the
Navigatorwindow (Ctrl+N). -
Find the DBR-RBD Indicator under the “Indicators” section.
-
Drag and drop it onto your desired chart.
Step 4: Configure Settings
-
Color Settings: Choose distinct colors for DBR and RBD zones.
-
Zone Extension: Set whether zones should extend into future candles.
-
Base Candle Count: Typically set between 1–4.
-
Drop/Rally Threshold: Minimum number of bars or pip distance to qualify as a drop/rally.
-
Alert Settings: Turn on alerts for zone entry notifications.
Trading Strategies Using the DBR-RBD Indicator
The indicator is highly versatile and fits well into both reversal and trend-based strategies. Below are two effective methods:
1. Reversal Trading at Key Zones
Use this method to catch reversals from supply or demand zones.
-
DBR (Buy Setup):
-
Wait for the price to retrace into the DBR zone.
-
Confirm with bullish signals (e.g., pin bar, bullish engulfing).
-
Enter a long trade at or slightly above the base.
-
Place SL below the DBR zone.
-
Set TP at the next supply zone or based on 1:2 or 1:3 RR.
-
-
RBD (Sell Setup):
-
Wait for a retest of the RBD zone.
-
Confirm with bearish candlestick patterns or oscillator divergence.
-
Enter a short trade at the zone or slightly below.
-
SL should be placed above the zone.
-
TP can be set at the next demand zone or support level.
-
2. Multi-Timeframe Confirmation
Use higher timeframes to locate major zones and lower timeframes for precise entries.
-
Higher Timeframe (HTF): Identify key DBR or RBD zones on H4 or D1.
-
Intermediate Timeframe (ITF): Use H1 to analyze structure and confirmation signals.
-
Lower Timeframe (LTF): Enter on M15 or M5 based on candlestick confirmation when the price enters the zone.
Risk Management Best Practices
Even with a powerful tool like the DBR-RBD Indicator, proper risk control is essential:
-
Position Sizing: Limit each trade to 1–2% of your account equity.
-
Trade Fresh Zones: Only enter trades on the first touch of a new zone.
-
Avoid Overtrading: Select only the highest quality setups with clear confirmations.
-
Use Stop-Loss and Take-Profit: Never trade without clearly defined SL/TP.
Benefits of the DBR-RBD Indicator
-
Removes Subjectivity: Provides a systematic way to find key supply and demand zones.
-
Improves Accuracy: Clearly shows entries, SL, and TP based on institutional logic.
-
Supports Multiple Markets: Works on forex, stocks, indices, and crypto.
-
Flexible Usage: Ideal for both scalpers and swing traders.
Limitations to Be Aware Of
-
Not Foolproof: Some zones may fail, especially in strong trending markets.
-
Learning Curve: Requires some understanding of price action and SMC to use effectively.
-
Doesn’t Cover All SMC Patterns: Focuses only on DBR and RBD, not RBR or DBD.
Tips for Getting the Best Out of the DBR-RBD Indicator
-
Combine with SMC Tools: Use along with HTF Order Blocks, BOS/CHoCH indicators, and liquidity voids.
-
Time Entries Well: Focus on major sessions like London or New York for higher volatility.
-
Backtest Extensively: Test your settings and strategies on historical data before using them live.
-
Keep It Simple: Don’t overcrowd your chart with too many indicators — let DBR-RBD be your foundation.
Final Thoughts
The DBR-RBD Indicator for MT4 is a game-changing tool for traders who follow Smart Money Concepts and want to trade based on supply and demand imbalances. By identifying areas where institutional orders likely reside, it empowers traders to align with the market’s true movers.
When combined with proper strategy, discipline, and risk management, this indicator can provide a powerful edge in both trending and ranging markets. Take the time to understand its mechanics, test it thoroughly, and use it in harmony with price action tools for the best results.


