Discover how the Hammer Candle EA for MT5 trades bullish and bearish hammer patterns with no Martingale or grid strategies. Learn the settings, advantages, risks, performance tips, and whether it’s a fit for your trading.
Introduction
In algorithmic forex trading, candlestick patterns remain among the most intuitive and widely used tools. Among them, the hammer candlestick is a classic reversal signal that has caught the attention of many price-action-oriented traders. But can you fully automate trading using hammer patterns? That’s where the Hammer Candle EA for MT5 steps in.
In this post, we’ll explore how Hammer Candle EA works, its features, pros & cons, optimal settings, use cases, and essential tips for anyone considering it. By the end, you’ll have a clear picture of whether this EA is suitable for your trading style and how to maximize its potential.
What Is the Hammer Candle EA MT5?
The Hammer Candle EA is a commercial Expert Advisor (EA) available on the MQL5 Market.
Its core purpose is to detect bullish and bearish hammer candlestick patterns automatically and open trades based on them—with configurable risk management and trade handling logic.
Key highlights:
-
It does not use Martingale, grid, or arbitrage schemes.
-
It includes features like Break-Even, Trailing Stop, and multiple take profit levels.
-
It can be applied to forex, indices, and cryptocurrencies, though the developer notes it is particularly optimized for BTCUSD on M5 timeframe.
-
Its current version (as of listing) is 2.40, and typically up to 5 activations.
Because hammer candlesticks are used as reversal signals, the EA essentially automates what a price‑action trader might do manually—but with speed, strict rules, and discipline.
Understanding the Hammer Candlestick Pattern
Before delving into the EA’s logic, let’s refresh what a hammer candle is, why it matters, and its limitations.
A hammer candlestick typically appears after a downtrend, and is characterized by:
-
A small real body (open vs. close)
-
A long lower wick (shadow), usually several times the body
-
A short or negligible upper wick
-
The close is near the top of the candle’s range
This shape suggests the market attempted to push prices lower, but buyers regained control to close near the top—signaling a possible bullish reversal.
In reverse, the “bearish hammer” or “hanging man” is a similar formation that can appear after uptrends to suggest reversal downward.
However:
-
The hammer is not foolproof. It can fail if the next candle continues the previous trend.
-
It often requires confirmation (e.g. a follow‑through candle, support/resistance, other indicators) to improve reliability.
-
Market noise, volatility, and instrument choice can affect its performance.
Thus, an EA built around hammer patterns must include filtering, risk control, and trade management to avoid false signals. This is exactly why Hammer Candle EA includes so many adjustable parameters.
Deep Dive: Features & Inputs of Hammer Candle EA
Let’s unpack the core features and settings that give the EA flexibility (as shown in the MQL5 description).
General Settings
-
Lot Size: A fixed lot size per trade
-
Min Size USD: Minimum hammer candle size (in USD) to consider
-
Max Body Percent: Defines how big the candle’s body can be relative to total size
These general filters allow the EA to skip weak or ambiguous hammer patterns.
Hammer Candle Filters
-
Check Lower Wick / Check Upper Wick: Require a sufficiently long lower (bullish) or upper (bearish) wick
-
Check Body Position Top / Bot: Ensure the body is located near the top (for bullish) or bottom (for bearish)
-
Use Close Direction Filter: Enforce that bullish hammer closes > open, bearish closes < open
-
Check Prev Open: Hammer’s open must be on one side relative to the previous candle’s open
These filters help weed out weak or malformed hammer signals.
Local High / Low Filters
-
Use Local Low Check / Use Local High Check: The hammer’s low (for bullish) should be lower than some preceding bars; similarly for bearish
-
Look back Bars: How many bars to look back for high/low check
These ensure the pattern is occurring at a relevant turning point, not in the middle of a trend.
Trade Management – Stop Loss, Take Profit & Orders
-
Initial SL Offset USD: The starting stop loss distance
-
Entry Buffer USD: Buffer distance above/below hammer high/low for pending order entry
-
Pending Order Expiry Bars: How many bars pending orders remain valid
-
Break-Even & Trailing Stop: Enable options to move SL to breakeven or trail profit
-
Take Profit Levels:
-
UseTP1 / TP2 / Final TP: Multiple TP levels (partial closes)
-
TP1_RR, TP2_RR, Final TP_RR: Risk‑reward ratios for each level
-
TP1_ClosePerc, TP2_ClosePerc: What % of position to close at each stage
-
TP1_MoveSLtoBE: Option to move SL to breakeven when TP1 is hit
-
This multi-level TP + partial close management gives the EA more nuance than a simple fixed TP.
Time Exit
-
Use Time Exit: Option to close position after X bars if TP1 isn’t reached
-
Exit After Bars: Number of bars after which forced exit occurs
This helps avoid stale trades sitting in non‑productive zones indefinitely.
Markets & Timeframes: Where It Works Best
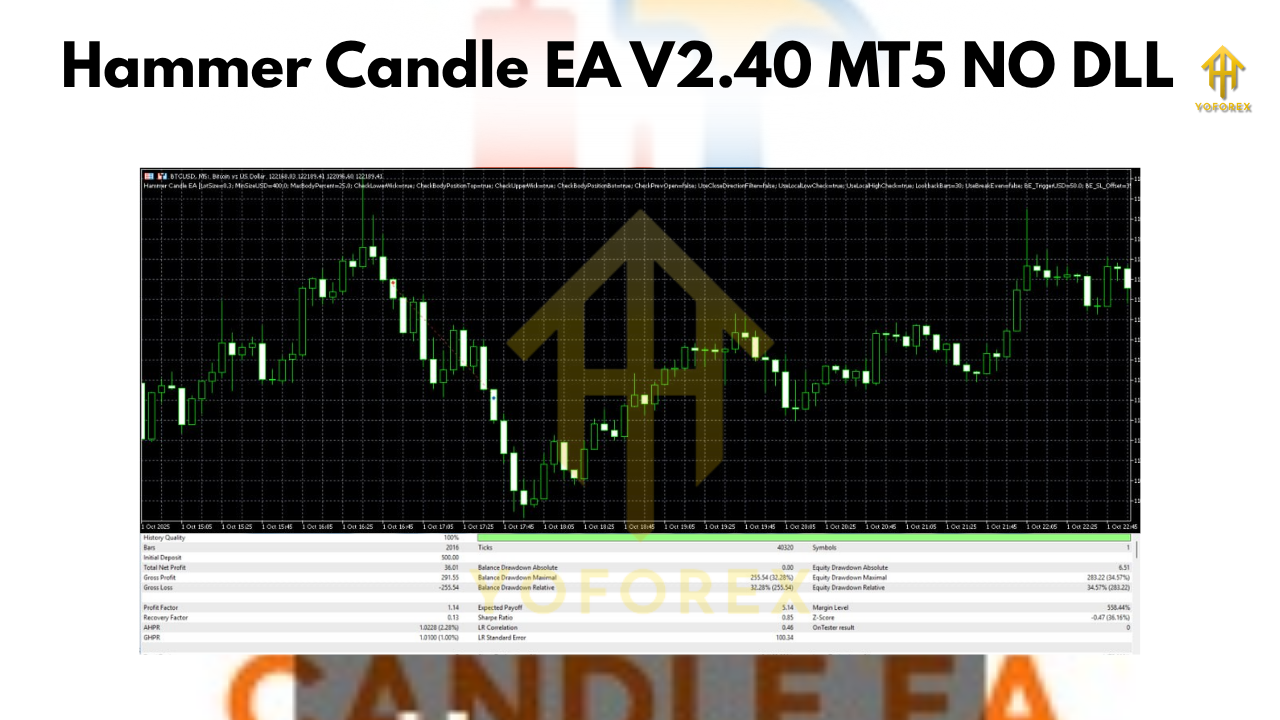
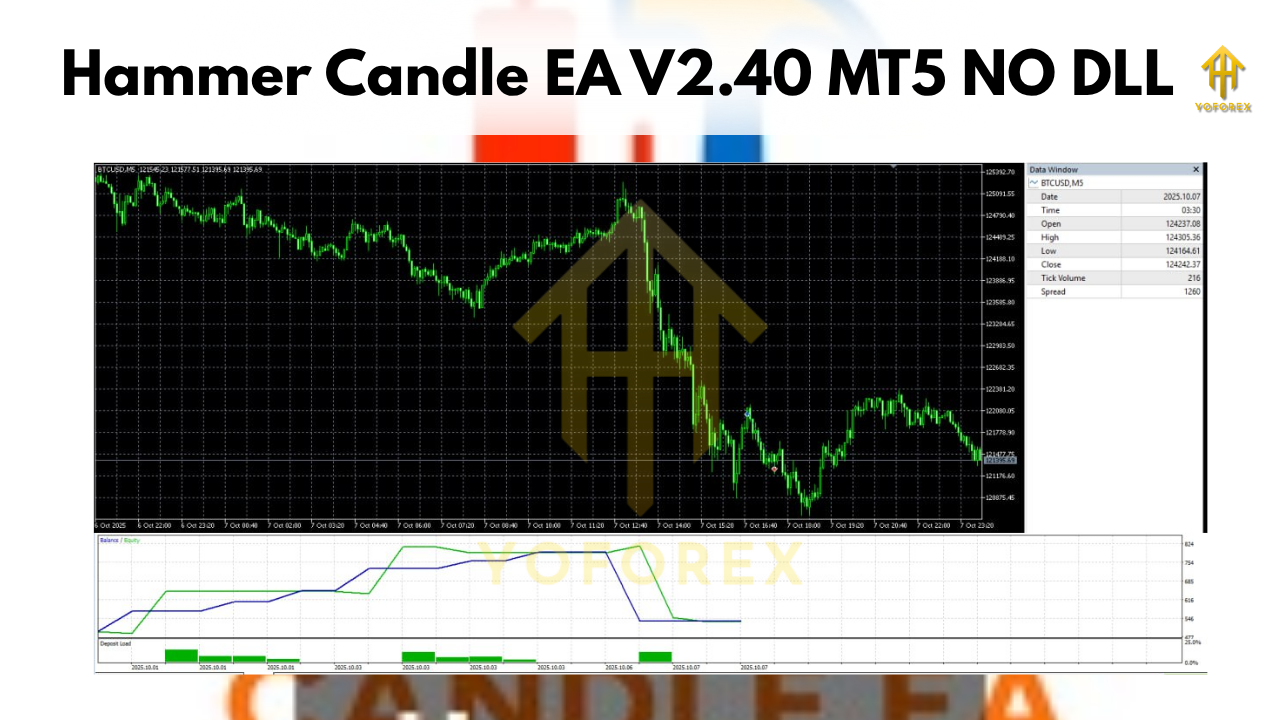
Though the EA claims it can be applied broadly, the developer particularly optimizes it for BTCUSD on the M5 timeframe.
However, he notes it can be used on other forex pairs, indices, and cryptocurrencies, but you must adjust parameters appropriately.
Suggested timeframes include M5 to H1.
As always with EAs, you should:
-
Backtest extensively on your target instrument
-
Forward test on demo accounts
-
Adjust filters and risk on volatility and behavior of the pair
Pros & Strengths
Here are some of the advantages of Hammer Candle EA:
-
Transparent logic (no hidden tricks)
The EA states clearly it avoids Martingale, grid, or arbitrage. -
Flexible risk management
Break-even, trailing stop, and multiple TP levels give more control. -
Customizable filters
You can fine-tune the strength of hammer patterns, wick length, body ratio, etc. -
Reversal-focused strategy
For traders who believe in price action and reversal setups, this EA fits the philosophy. -
Ease of use
With plug‑and‑play capability and adjustable settings, both beginners and advanced users can start experimenting.
Risks, Limitations & Criticisms
No EA is perfect. Here are key risks to consider:
-
Hammer patterns fail often
Even a textbook hammer can turn into a continuation candle. Relying solely on candle shape without context can be risky. -
Overfitting danger
If you “optimize” heavily, the EA may perform well in backtest but poorly in live conditions due to curve fitting. -
Latency, spreads & slippage
On fast markets or during news, execution may deteriorate performance. -
Limited activation license
Only up to 5 activations (as per listing) limits use across multiple accounts. -
Lack of independent reviews / performance transparency
The listing doesn’t provide exhaustive live-performance records or third-party audits. -
Not “set-and-forget”
You’ll likely need to monitor, tweak, and intervene over time, especially across changing market regimes.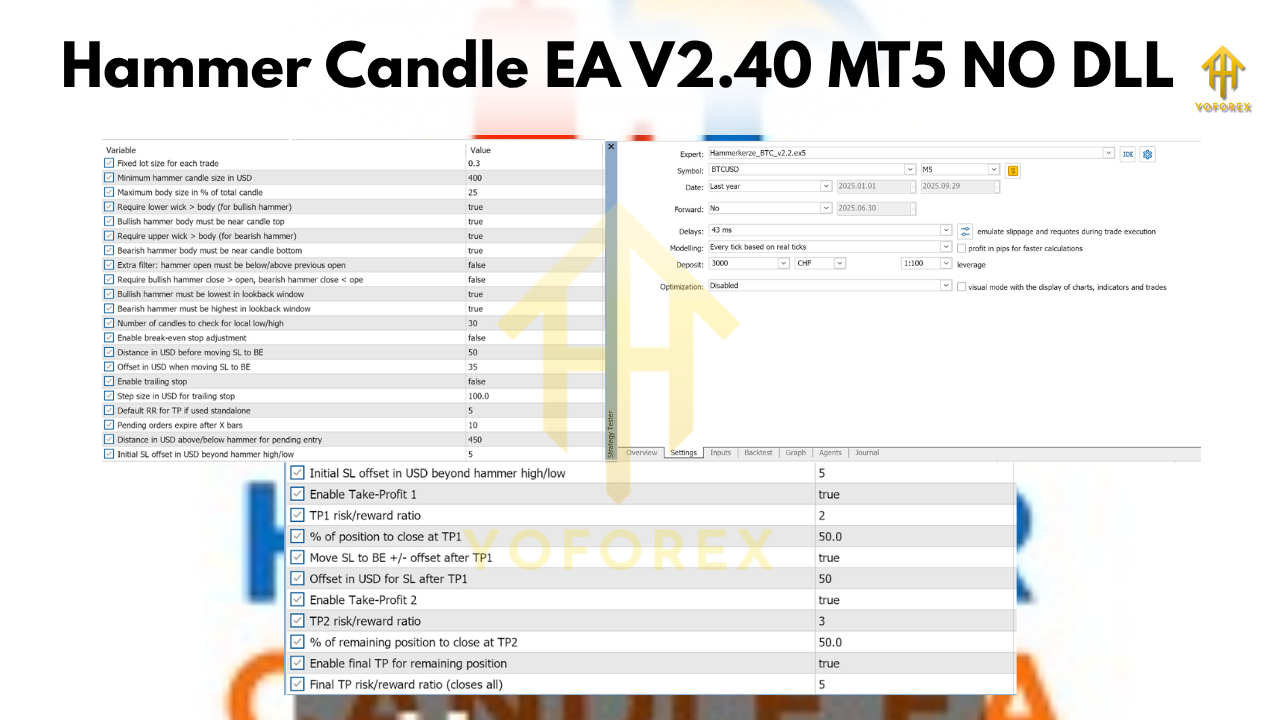
Example Use Case: BTCUSD / M5
Because the EA is optimized for BTCUSD on M5, here’s how one might configure it:
-
Use relatively small lot sizes due to volatility
-
Enable strict filters on wick length and body ratio
-
Use shorter pending order expiry (few bars)
-
Use break-even + trailing stop to lock in profits
-
Test during non-news hours to avoid spikes
If properly tuned, some traders might capture reversal micro-moves in bitcoin price swings.
-


