Supply Demand Pro Indicator V1.0 MT4 – A Powerful Trading Tool for Smart Traders
The Supply Demand Pro Indicator V1.0 MT4 is an advanced trading tool designed for traders who want to capitalize on market imbalances caused by supply and demand. This indicator helps identify key trading zones, allowing traders to enter and exit the market with precision.
Why Choose Supply Demand Pro Indicator V1.0?
- Accurate Zone Identification – Detects strong supply and demand zones with high precision.
- No Repainting – Provides reliable signals that don’t change after a candle closes.
- User-Friendly Interface – Suitable for both beginners and experienced traders.
- Enhances Risk Management – Helps minimize risks by highlighting strong price reaction areas.

Key Features of Supply Demand Pro Indicator V1.0
| Feature | Description |
|---|---|
| Trading Strategy | Identifies supply and demand zones to find high-probability trades |
| Minimum Deposit | $200 |
| Timeframe | Best used on H1, H4, and D1 for reliable signals |
| Currency Pairs | Works well on major pairs like EUR/USD, GBP/USD, USD/JPY, and AUD/USD |
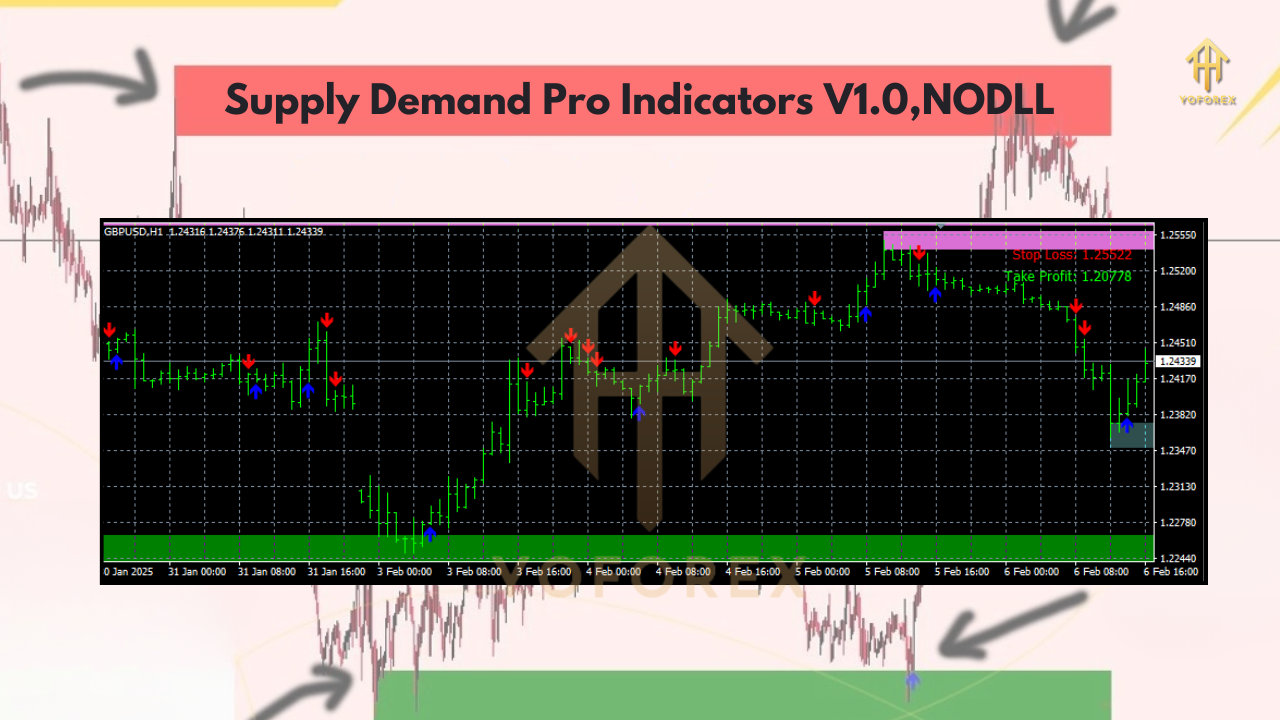
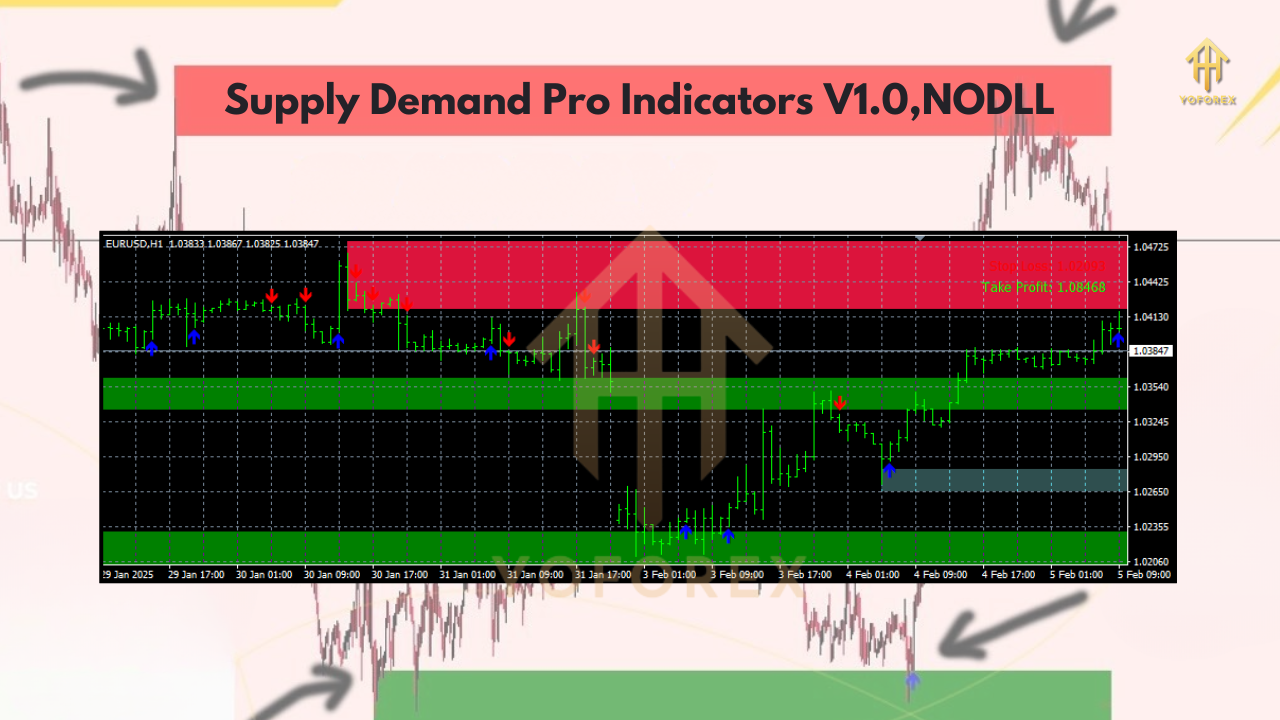
| Entry Signals | Provides buy and sell signals at strong supply/demand zones |
| No Repainting | Once a zone is confirmed, it remains unchanged |
How Does the Supply Demand Pro Indicator Work?
This indicator analyzes historical price movements and detects areas where the price has reacted strongly in the past. These areas indicate high buying (demand) or selling (supply) interest.
Trading Strategy Overview
- Identify Strong Zones:
- The indicator marks zones where price has historically reversed multiple times.
- A green zone indicates a demand (buy) area, while a red zone shows a supply (sell) area.
- Wait for Confirmation:
- Once the price enters a zone, look for price action confirmations such as pin bars or engulfing candles.
- Higher timeframes like H1, H4, or D1 provide stronger signals.
- Enter the Trade:
- Buy Trade: When price enters a demand zone and shows bullish confirmation.
- Sell Trade: When price reaches a supply zone and shows bearish confirmation.
- Set Stop-Loss and Take-Profit:
- Place stop-loss slightly below the demand zone for buys and above the supply zone for sells.
- Take-profit can be set at the next significant zone or at a risk-reward ratio of 1:2 or higher.
Benefits of Using Supply Demand Pro Indicator
- Higher Win Rate: By trading at strong supply/demand areas, traders increase their probability of success.
- Works in All Market Conditions: Whether the market is trending or ranging, supply/demand zones remain effective.
- Compatible with Other Strategies: Can be used with candlestick patterns, moving averages, and other indicators for better results.

Example Trade Using Supply Demand Pro Indicator
Buy Setup:
- Step 1: Price enters a demand zone on the H4 chart.
- Step 2: A bullish engulfing candle forms, confirming buying interest.
- Step 3: Buy trade is executed with a stop-loss below the zone.
- Step 4: Take-profit is set at the next resistance level.
Sell Setup:
- Step 1: Price approaches a supply zone on the H1 chart.
- Step 2: A bearish pin bar forms, signaling selling pressure.
- Step 3: Sell trade is executed with a stop-loss above the zone.
- Step 4: Take-profit is set at the next support level.
Best Trading Conditions for Supply Demand Pro Indicator
| Condition | Recommendation |
| Volatility | Works best in moderately volatile markets |
| Market Sessions | Best during London and New York sessions |
| Risk Management | Use a risk-reward ratio of at least 1:2 |
| Additional Tools | Can be combined with Fibonacci retracements and trendlines |
Final Thoughts
The Supply Demand Pro Indicator V1.0 MT4 is an essential tool for traders who want to trade with precision and confidence. By focusing on strong supply and demand zones, this indicator provides high-probability trade setups with minimal risk. Whether you’re a beginner or an experienced trader, this indicator can help you improve your trading decisions.


